Combined arms warfare built around infantry-cavalry coordination, battle-position control, and tempo.
Playstyle: Macedonia wins by shaping the board, opening lanes with maneuver, and timing a decisive coordinated strike.
- Strong synergy between infantry and cavalry
- Reliable battle-position manipulation
- Access to maneuver and tactical pressure from multiple angles
Balance Focus: Retuned around true Infantry-Cavalry combined-arms rewards.
Units (9)
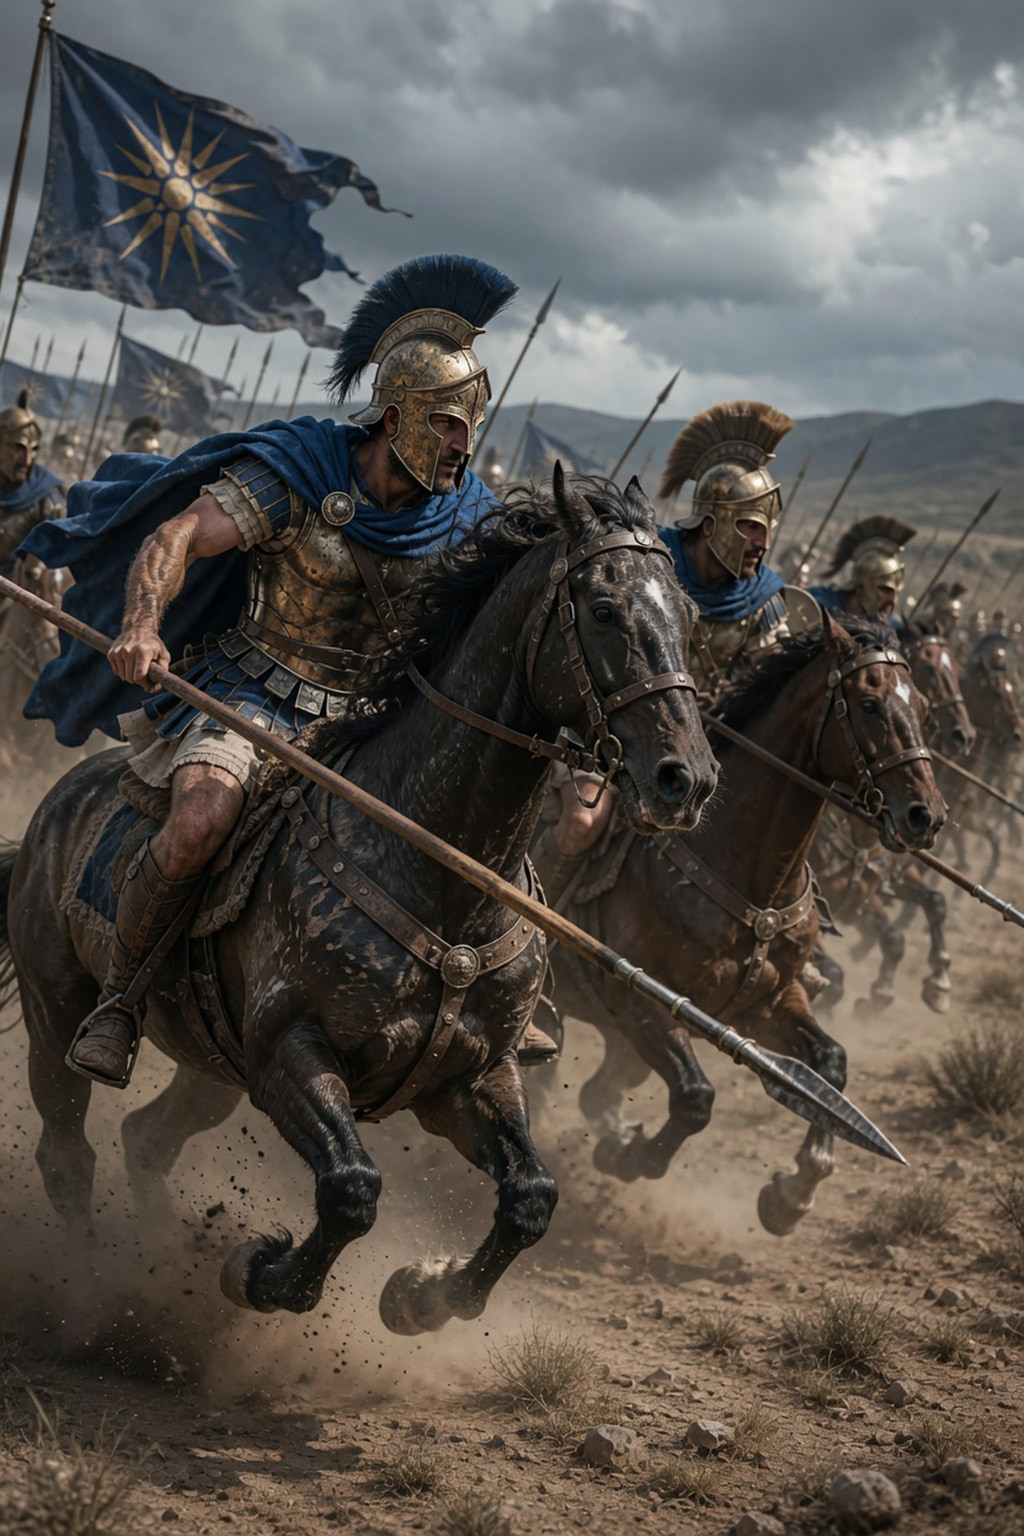
Thessalian Cavalry
Thessalian cavalry was widely respected in the Greek world and served as an important mounted arm in Macedonian campaigns.
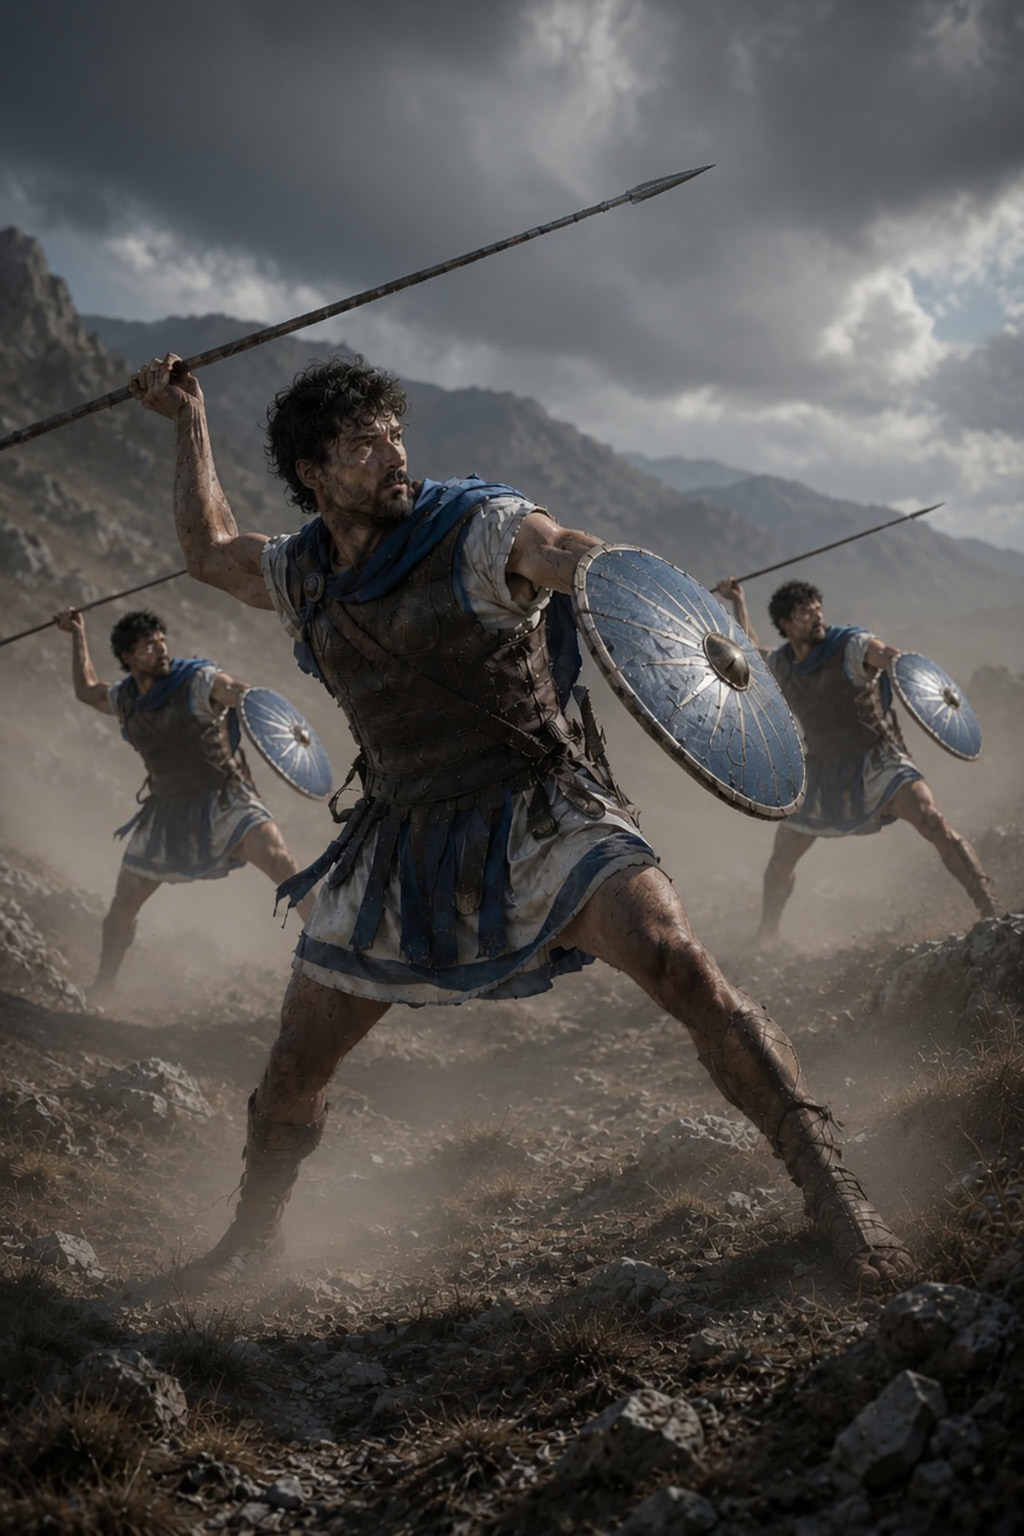
Agrianian Javelinmen
The Agrianians were famed light infantry from the Balkans who excelled with javelins, skirmishing, and rough terrain fighting.
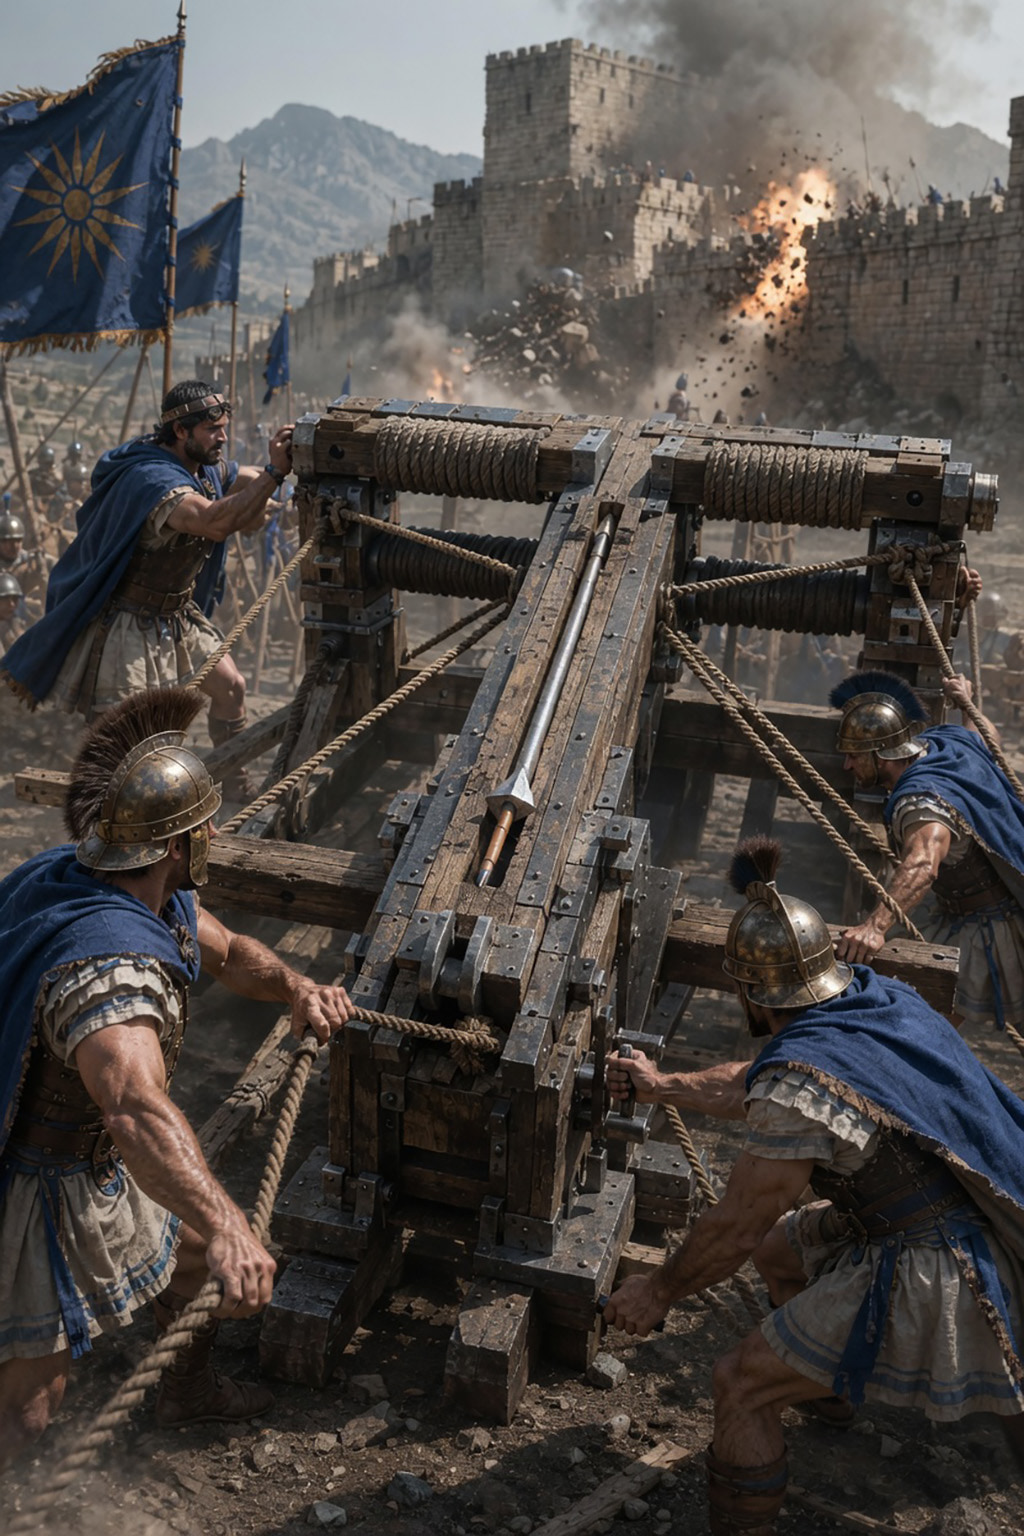
Siege Torsion Crew
Macedonian siege warfare used torsion artillery and engineer crews to support campaigns against fortified cities.
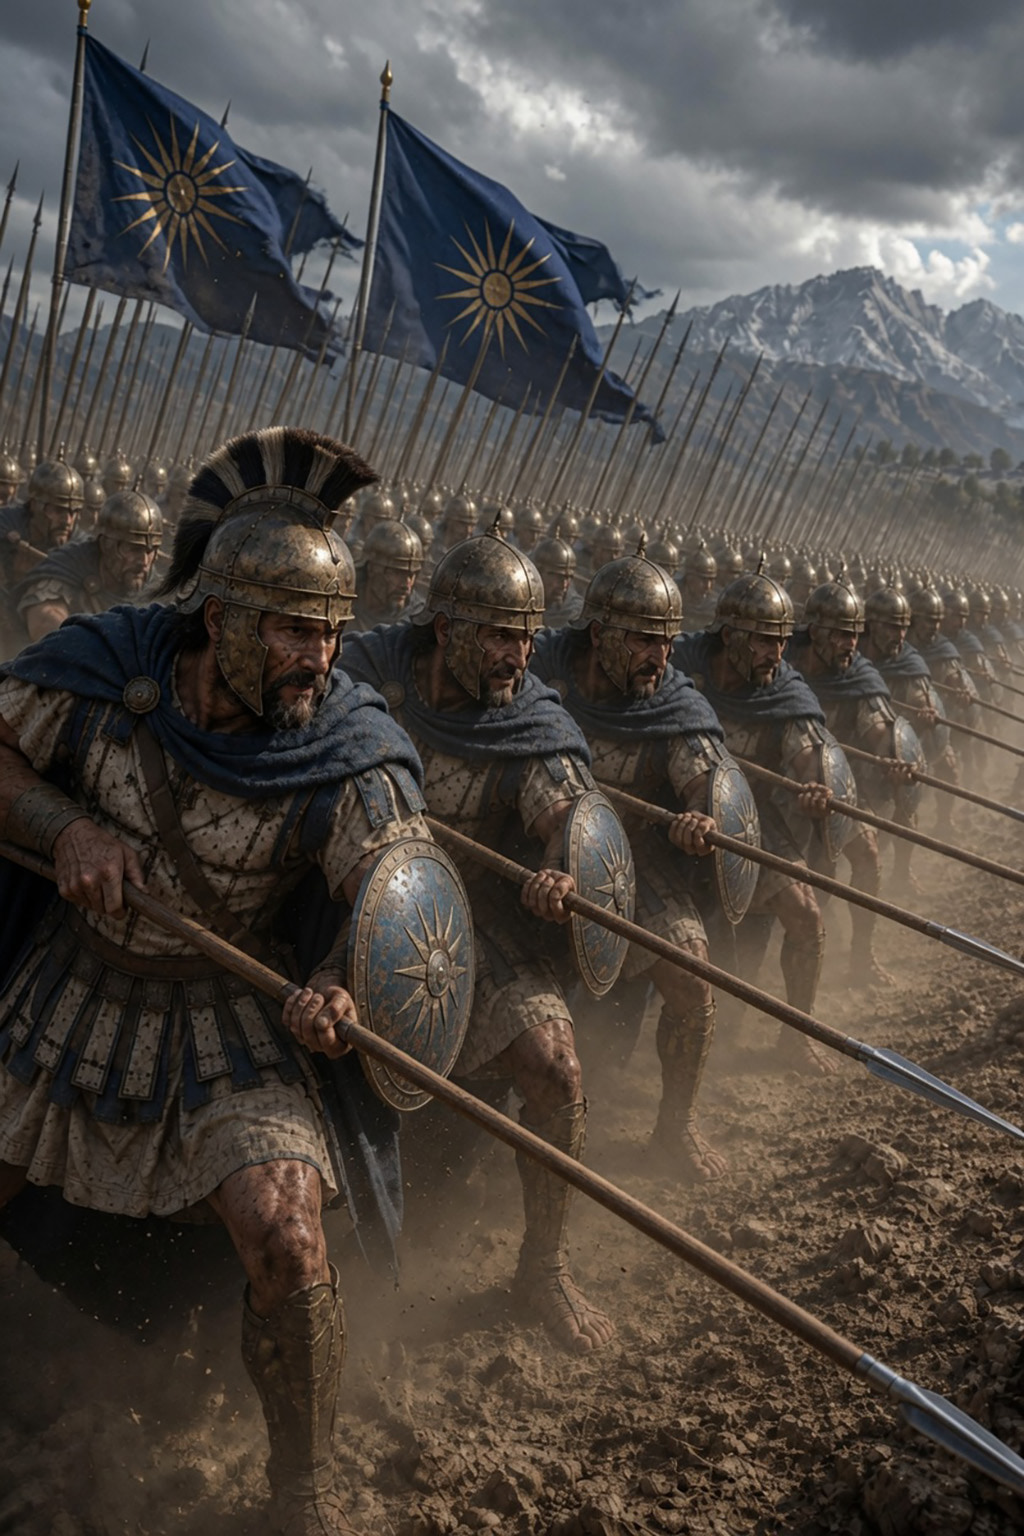
Pezhetairoi Phalanx
The pezhetairoi, or 'Foot Companions,' were Macedonian pikemen armed with the long sarissa and formed the backbone of the phalanx.
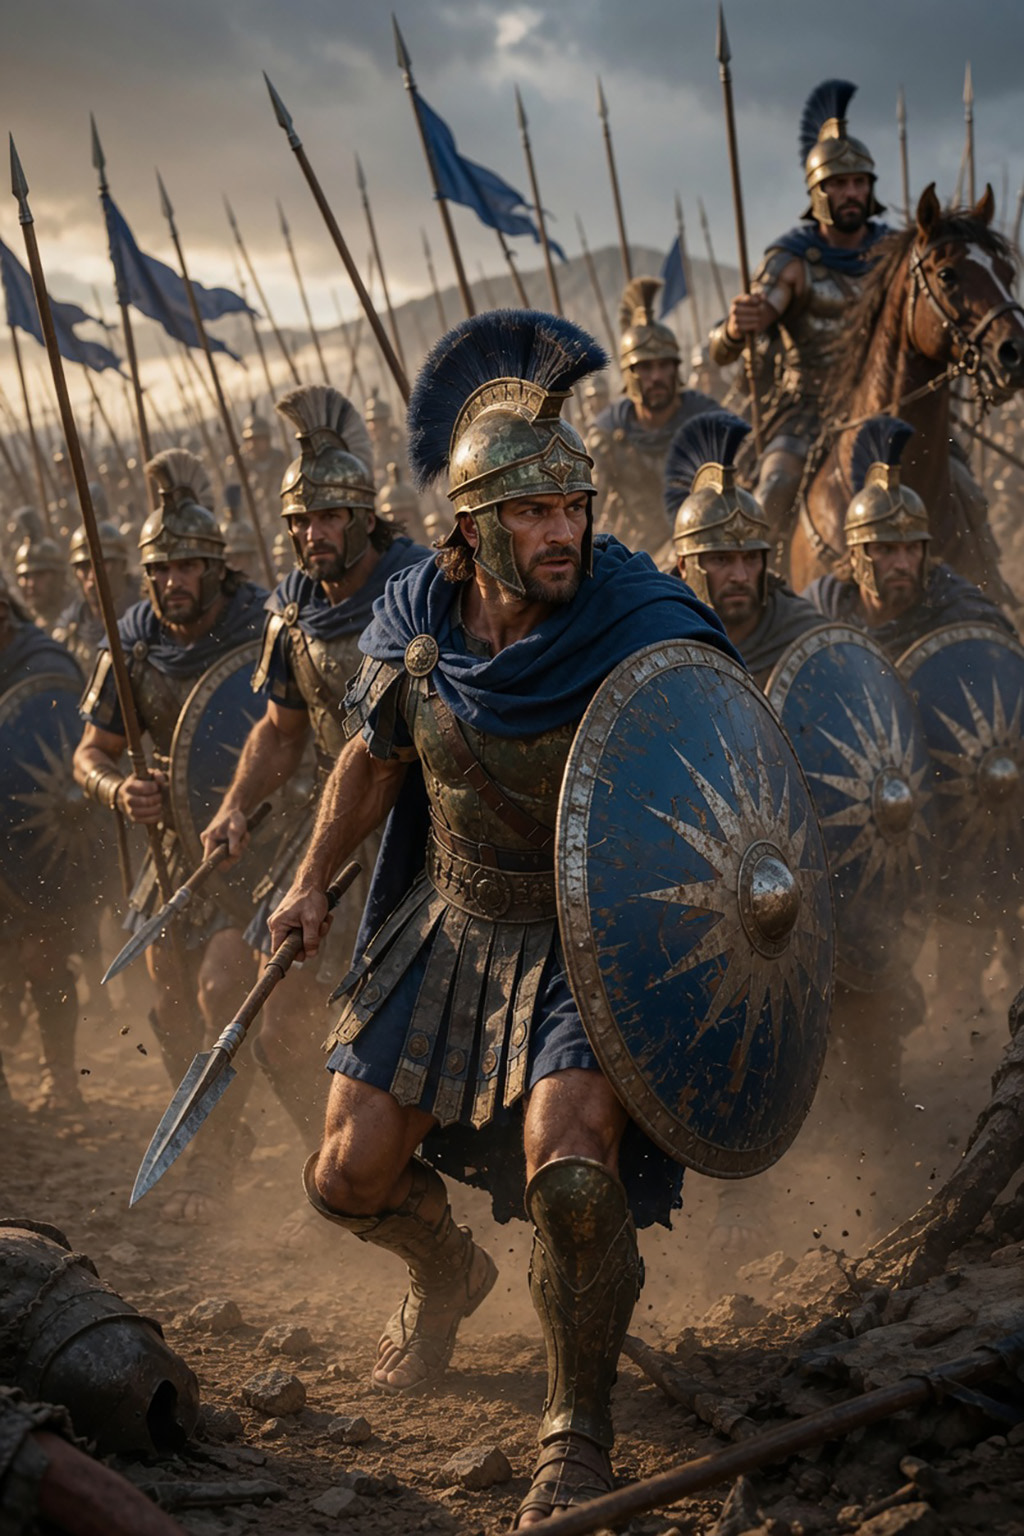
Hypaspist Guard
The hypaspists were elite Macedonian infantry used as flexible guards between the phalanx and cavalry.
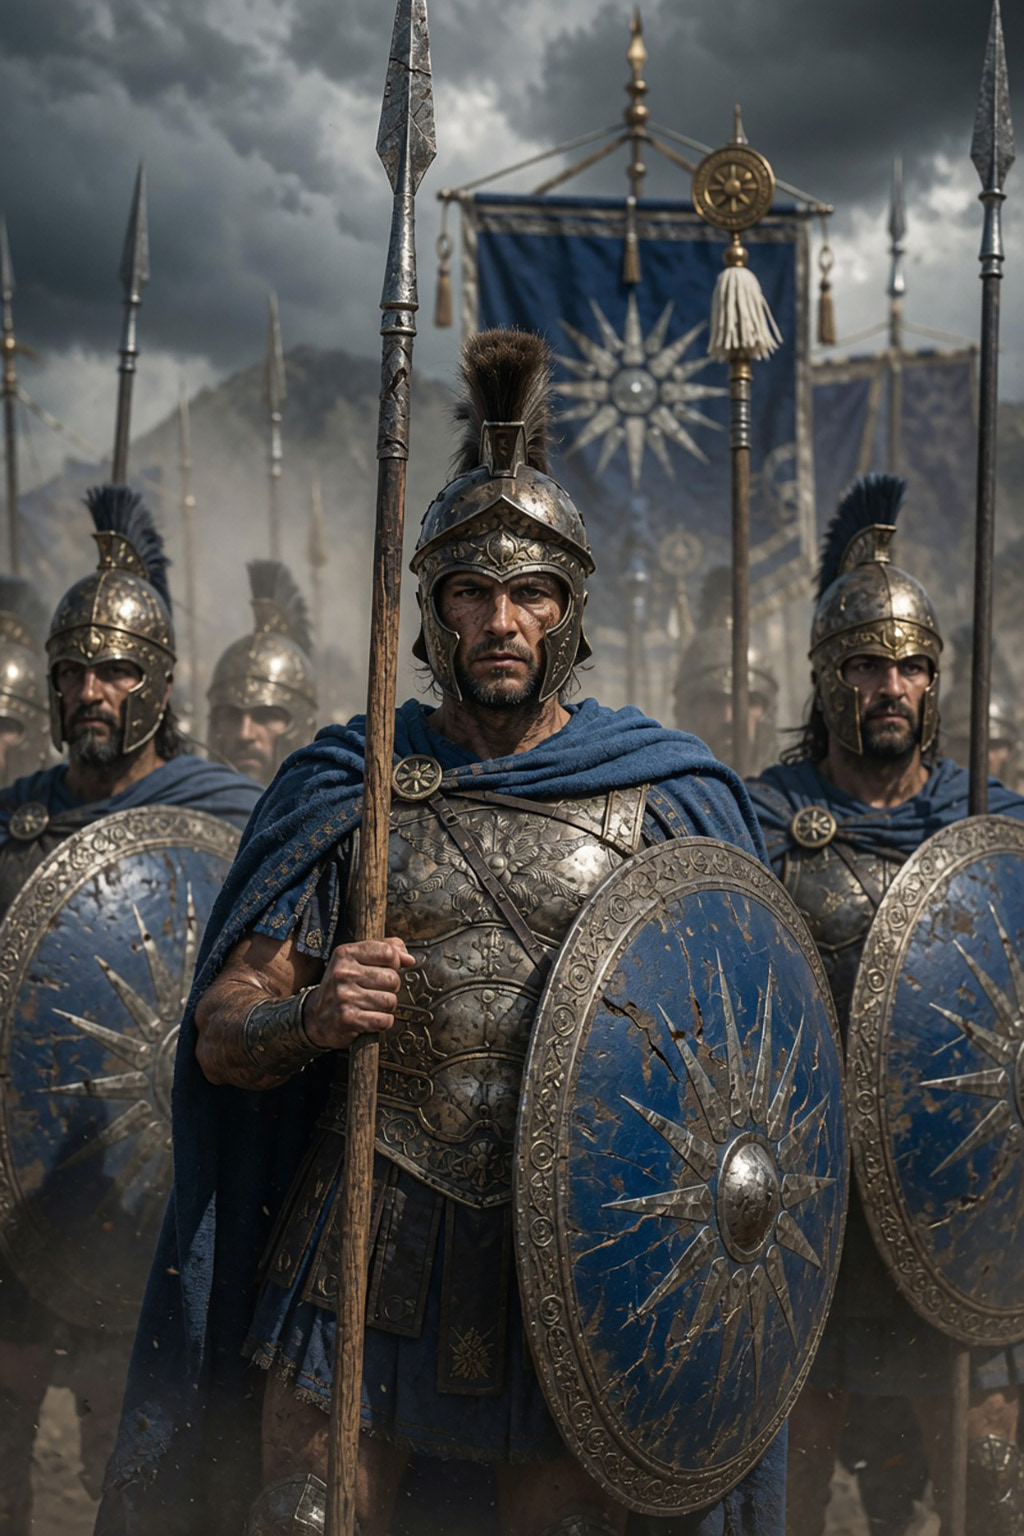
Royal Guard Somatophylakes
Alexander’s court and army included royal guards and close retainers who protected the king and served in elite roles.
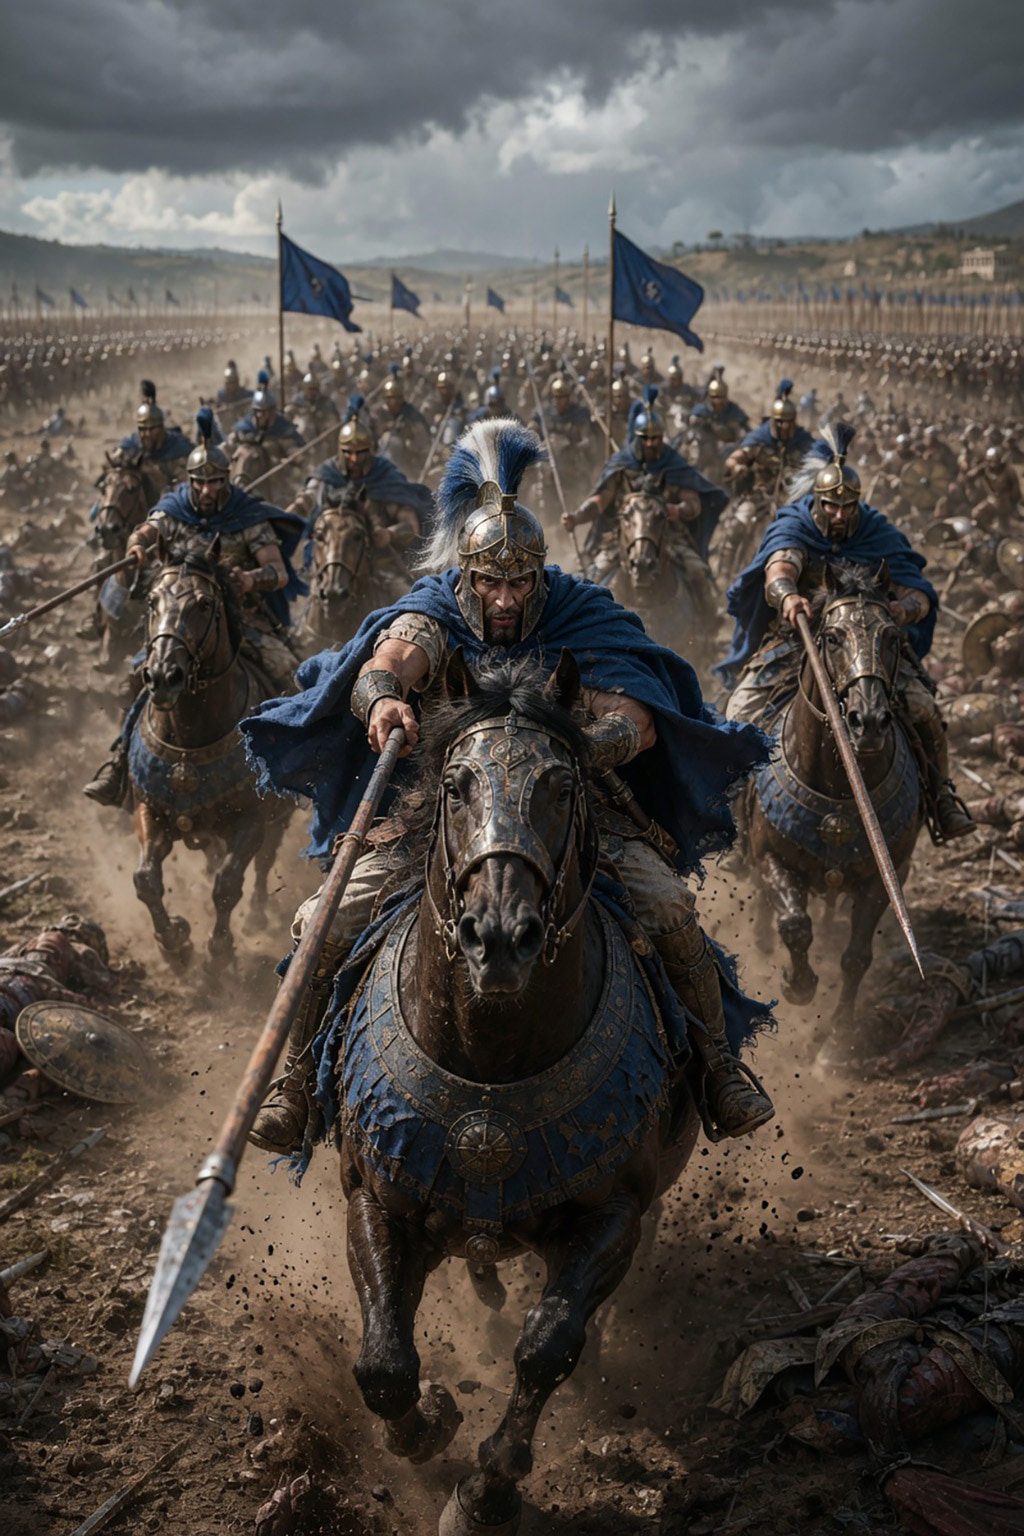
Companion Cavalry
The Companion Cavalry was Alexander’s elite shock cavalry, often used to deliver the decisive charge in battle.
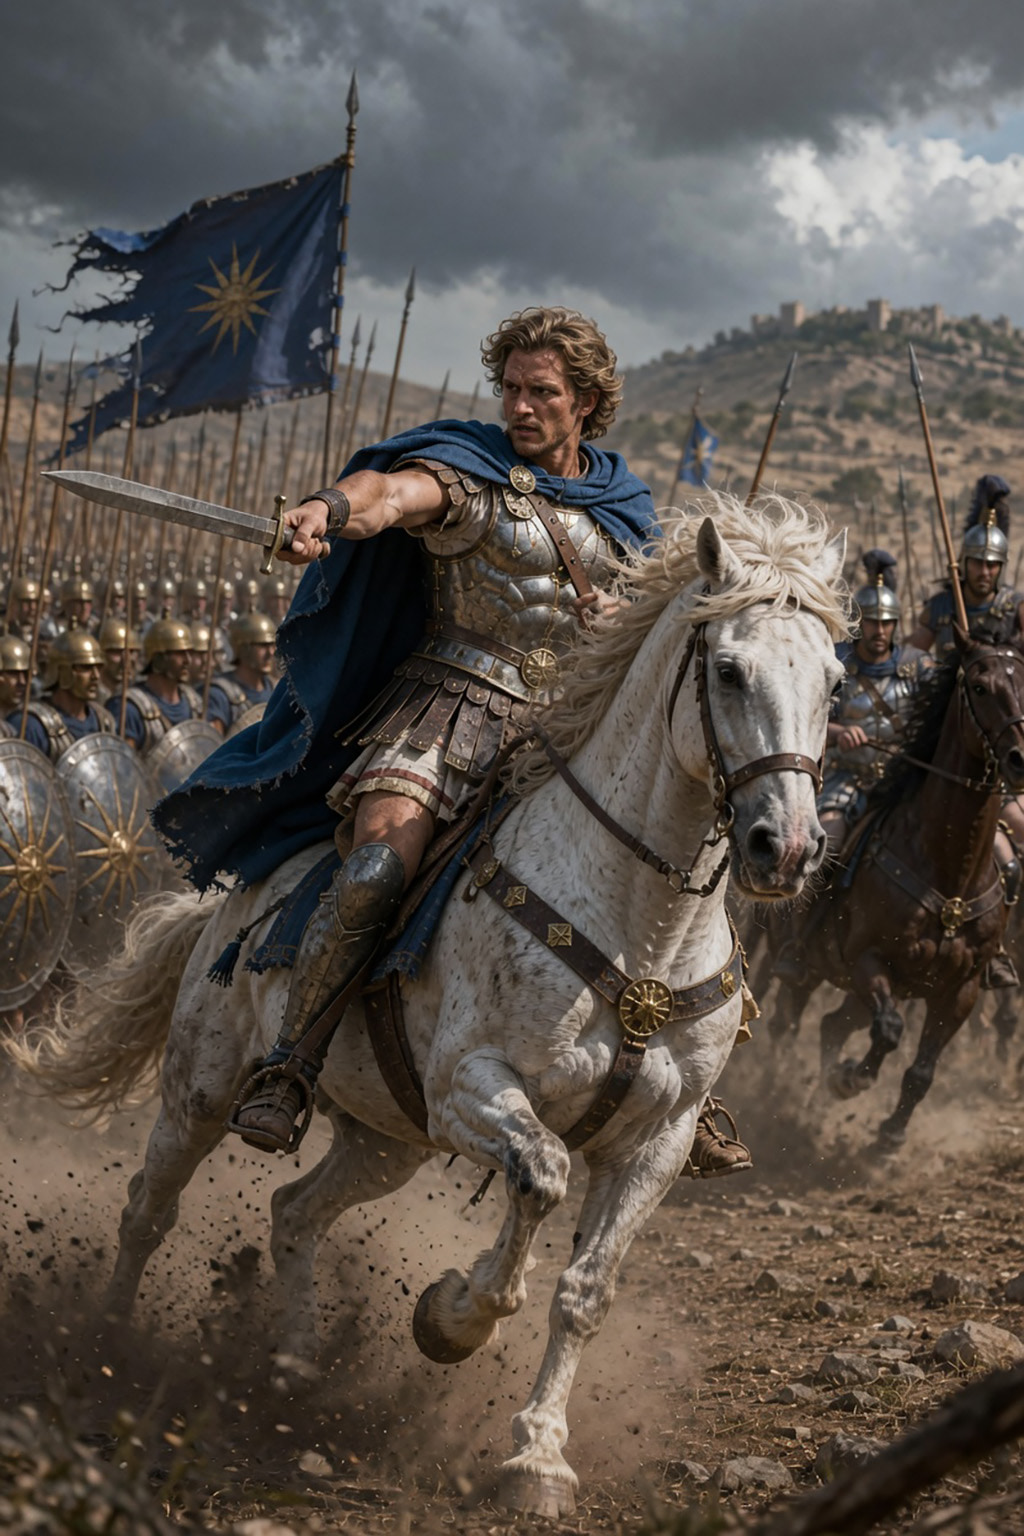
Alexander, King of Macedon
Alexander III of Macedon created one of antiquity’s largest empires through rapid campaigning, combined arms tactics, and aggressive leadership.
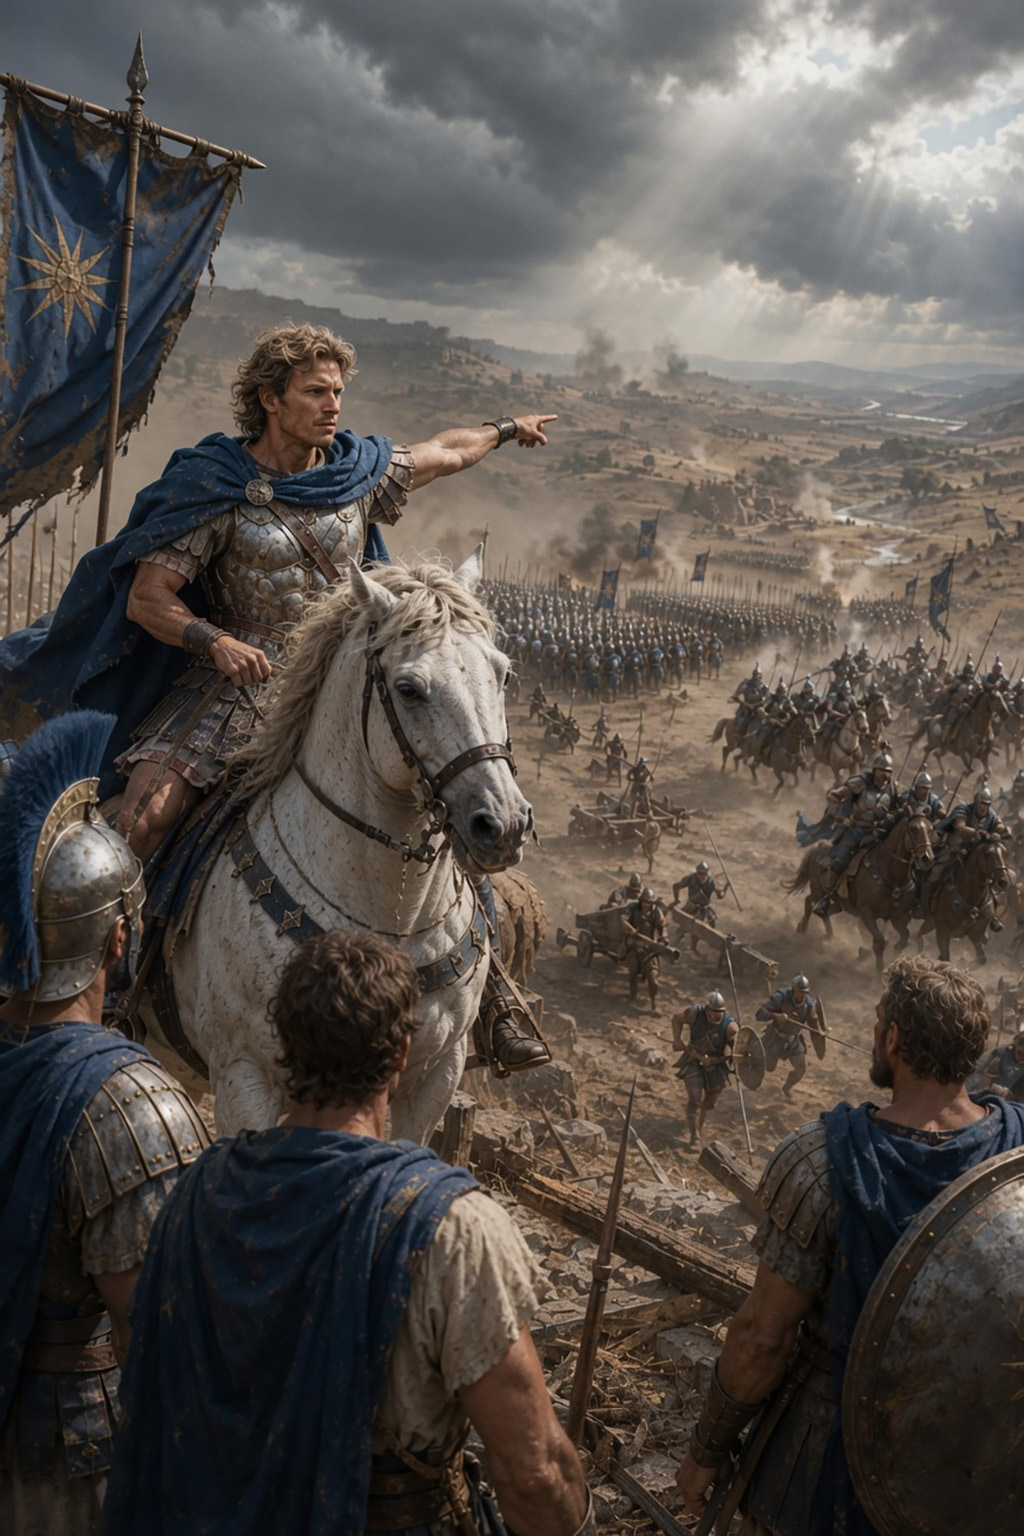
Alexander, Lord of Combined Arms
Alexander’s greatest military strength was the integration of phalanx, cavalry, light troops, and engineers into one coordinated fighting system.
Doctrines (7)
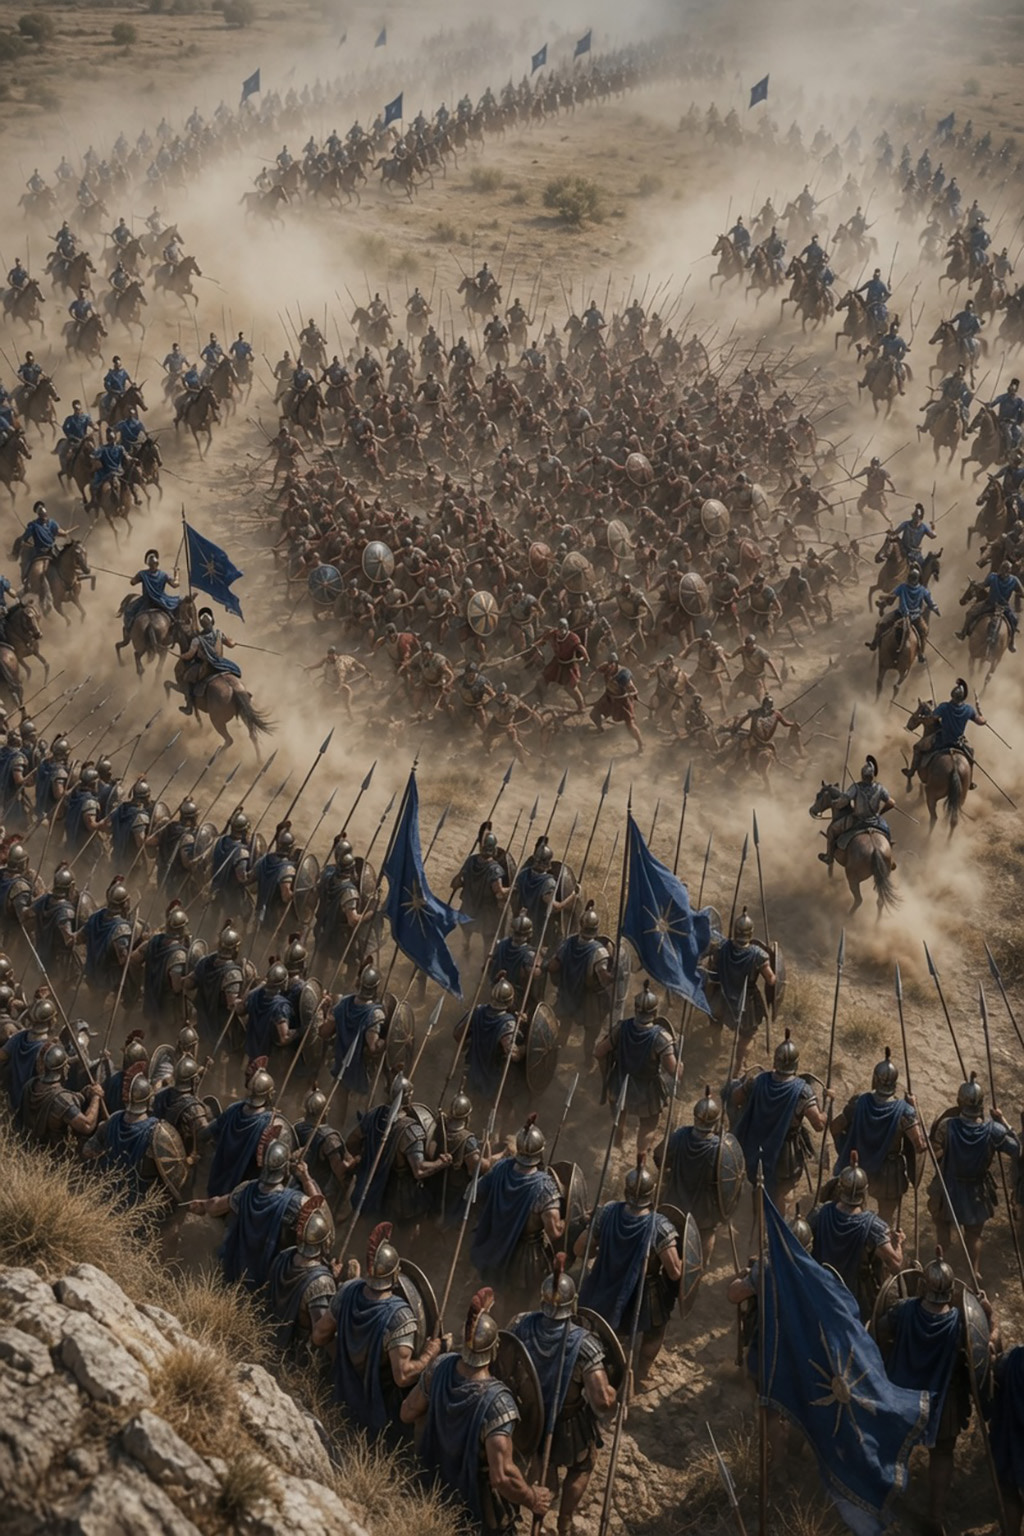
Encirclement
Macedonian commanders exploited mobility and coordinated arms to threaten flanks, rear areas, and local encirclements.
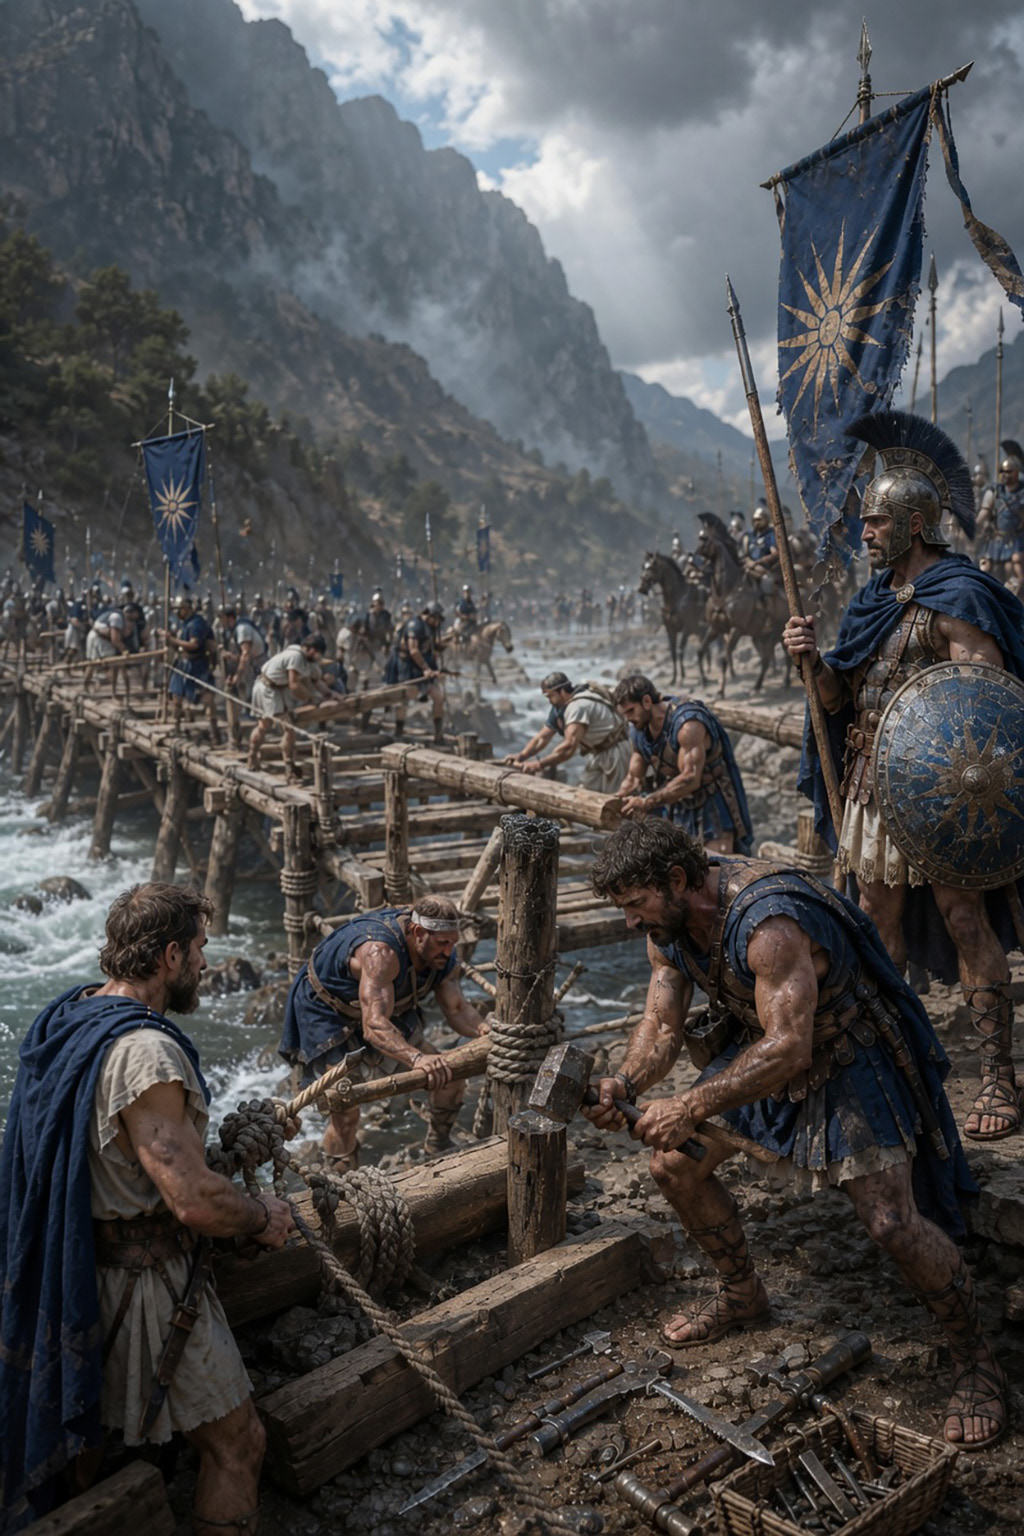
Engineers’ Bridges
Bridge-building and field engineering were critical to keeping armies moving across rivers and difficult terrain.
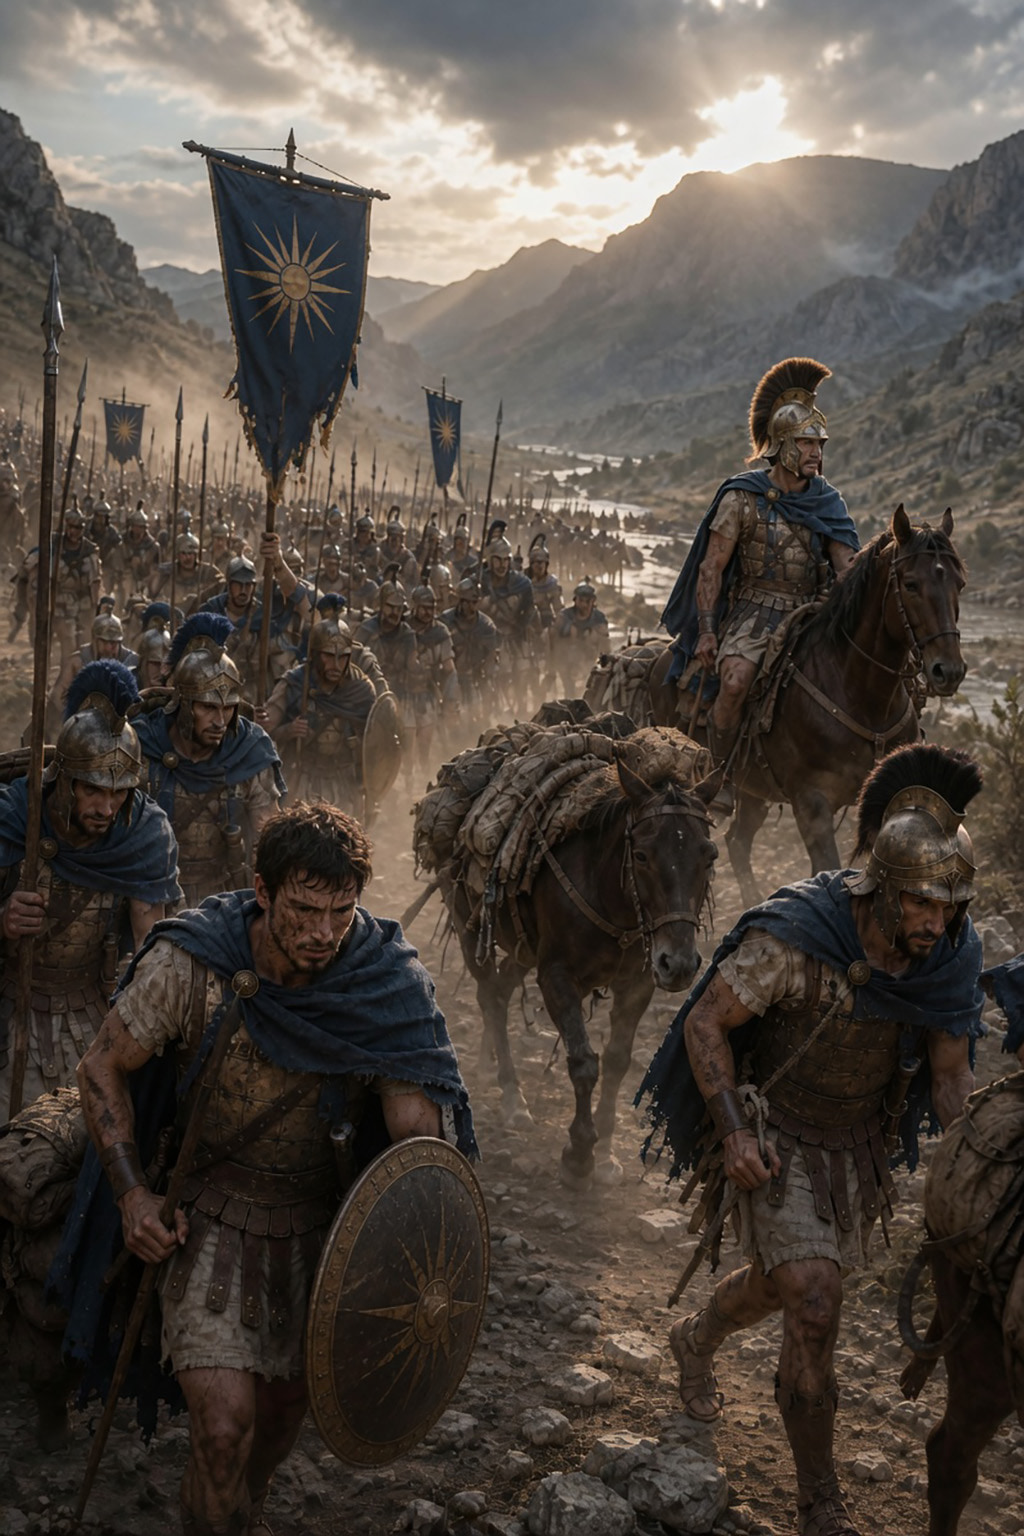
Forced March
Alexander frequently used fast marches to surprise opponents, seize crossings, and impose operational tempo.
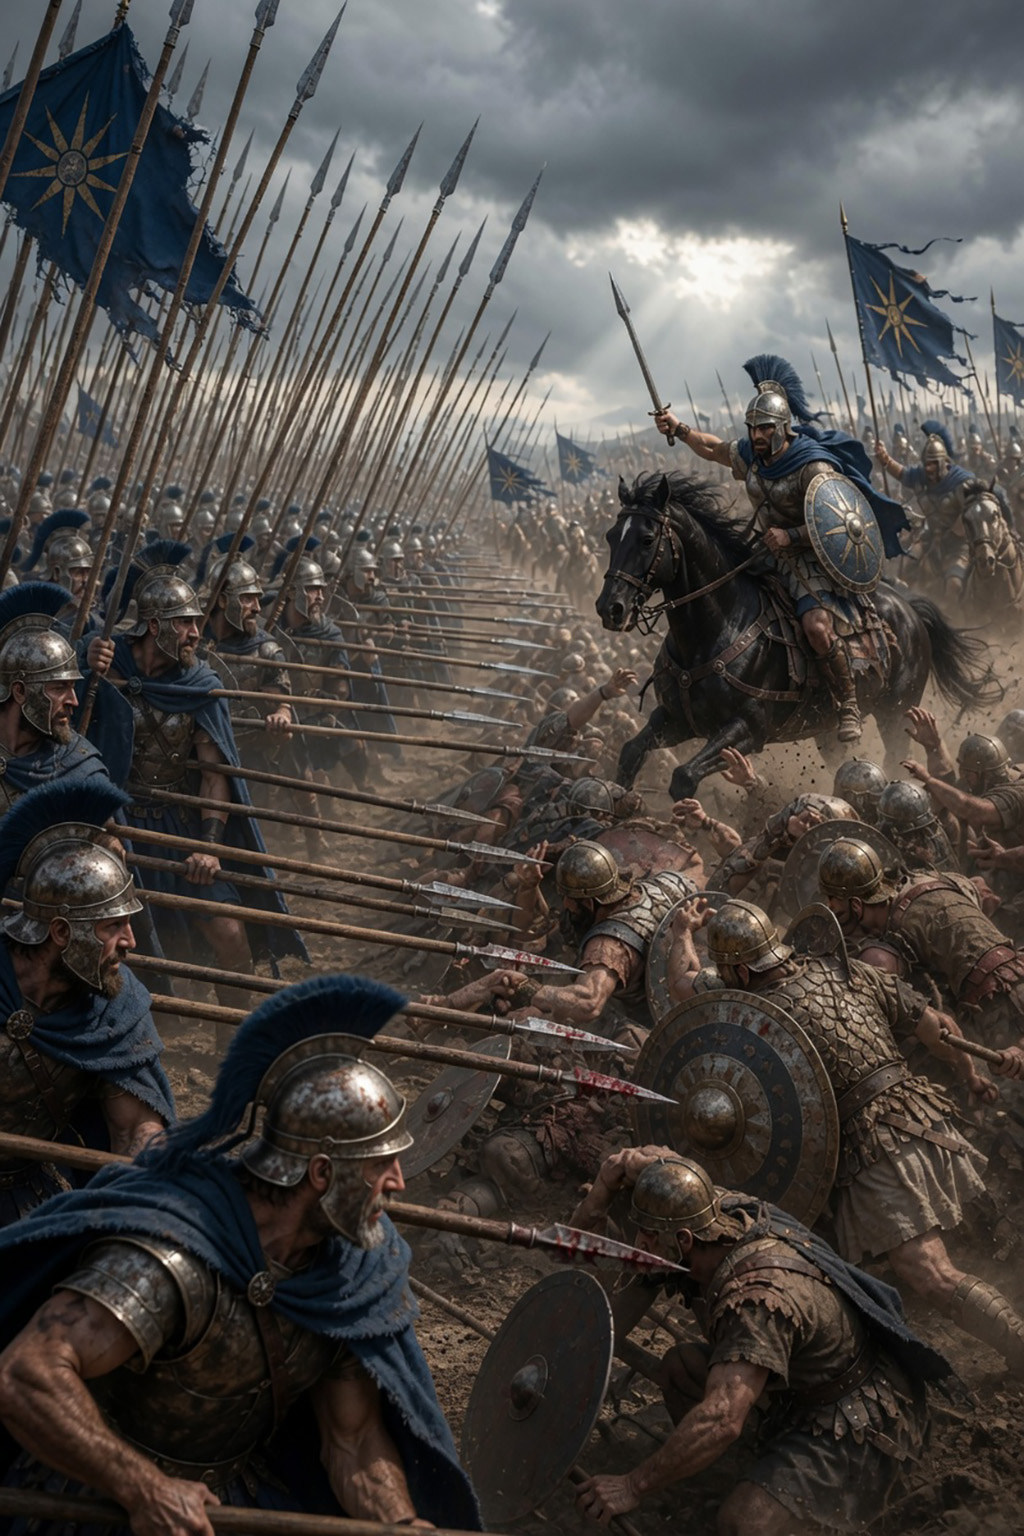
Hammer and Anvil
The classic Macedonian battle method fixed the enemy with the phalanx and struck decisively with cavalry on a flank.
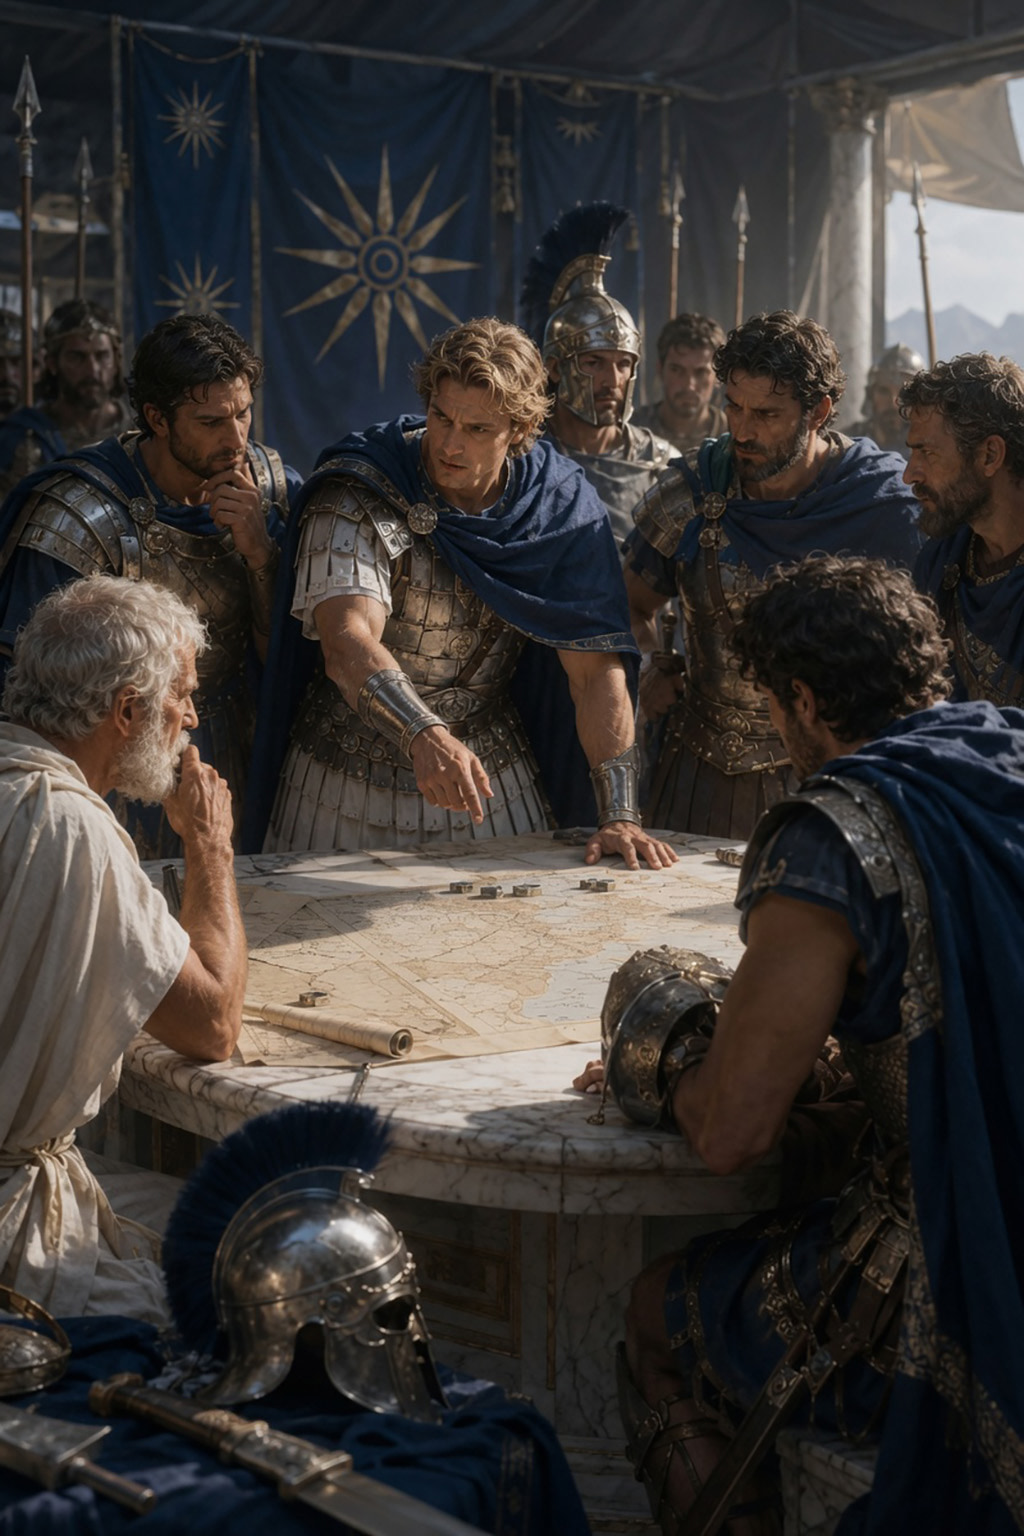
Hellenic War Council
Alexander campaigned with a Macedonian core but also drew on wider Hellenic political and military cooperation.
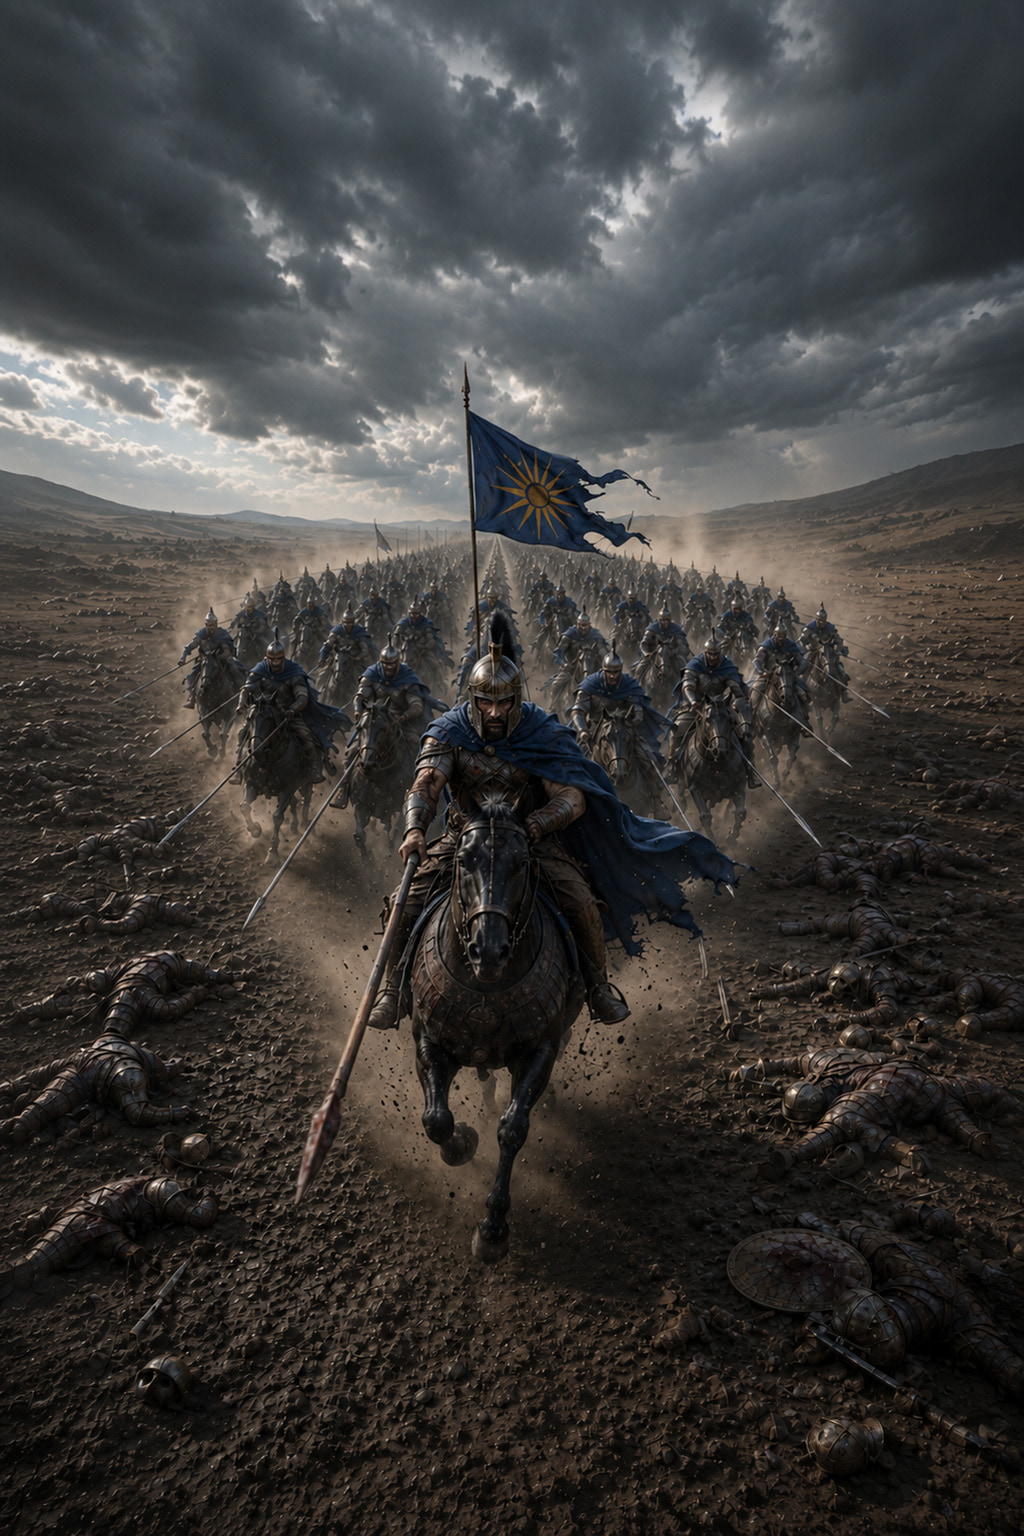
Royal Wedge Formation
Cavalry wedge formations improved shock, control, and penetration, especially for elite mounted attacks.
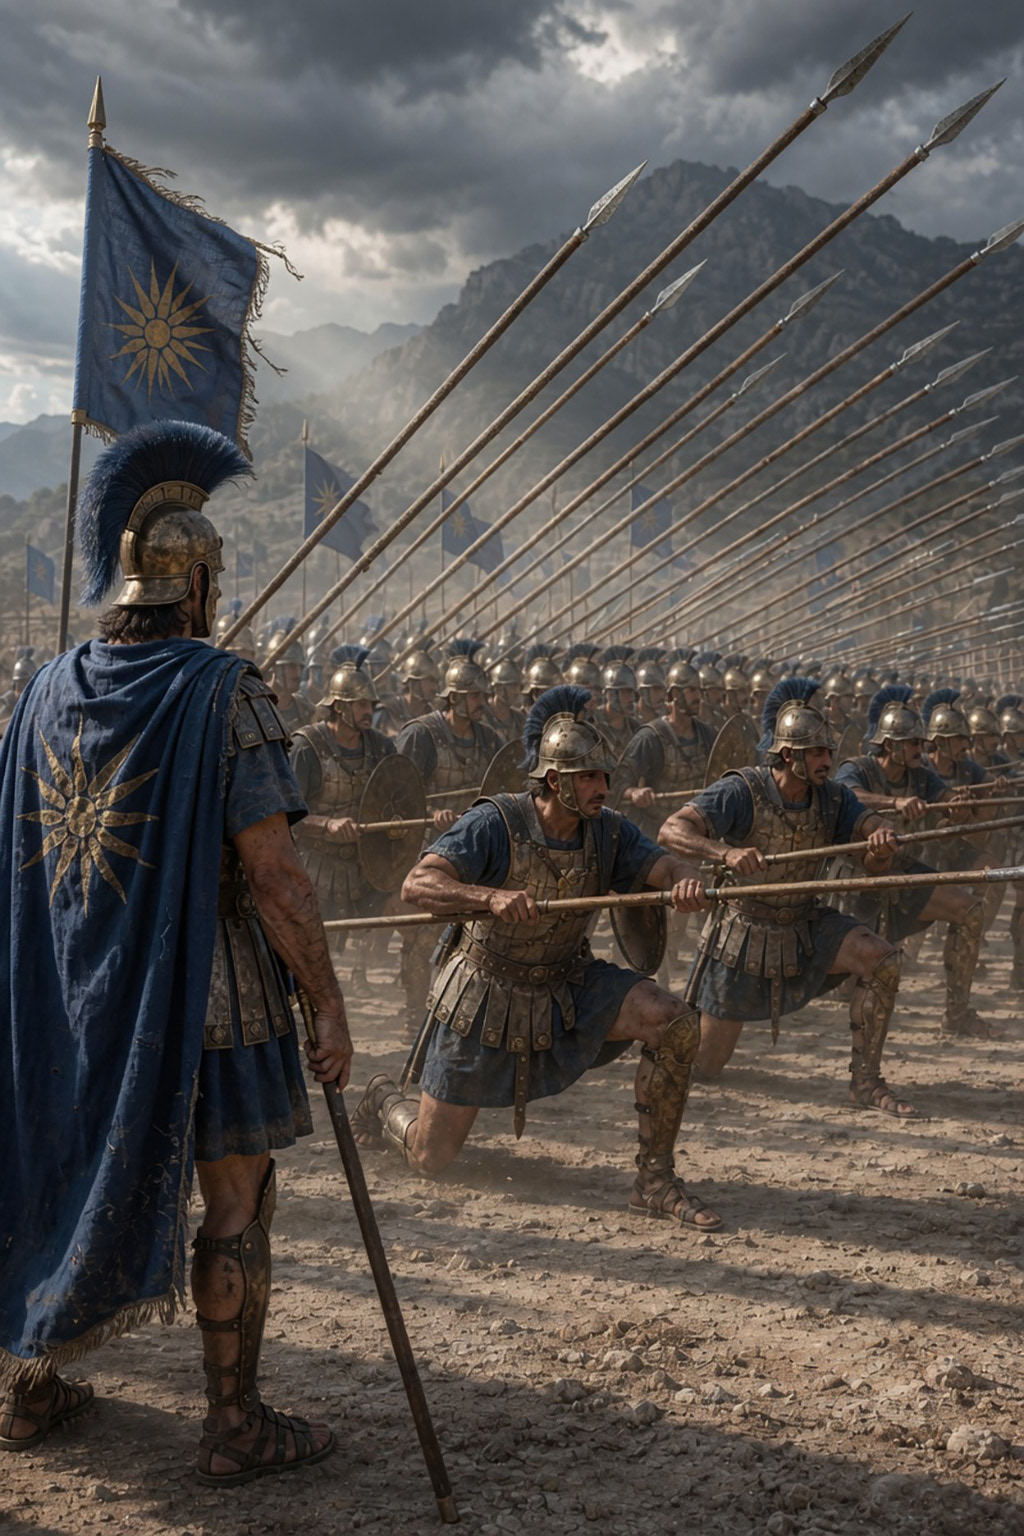
Sarissa Drill
The sarissa required systematic drill so the phalanx could maneuver, align pikes, and maintain its dense frontage.
Tactics (4)
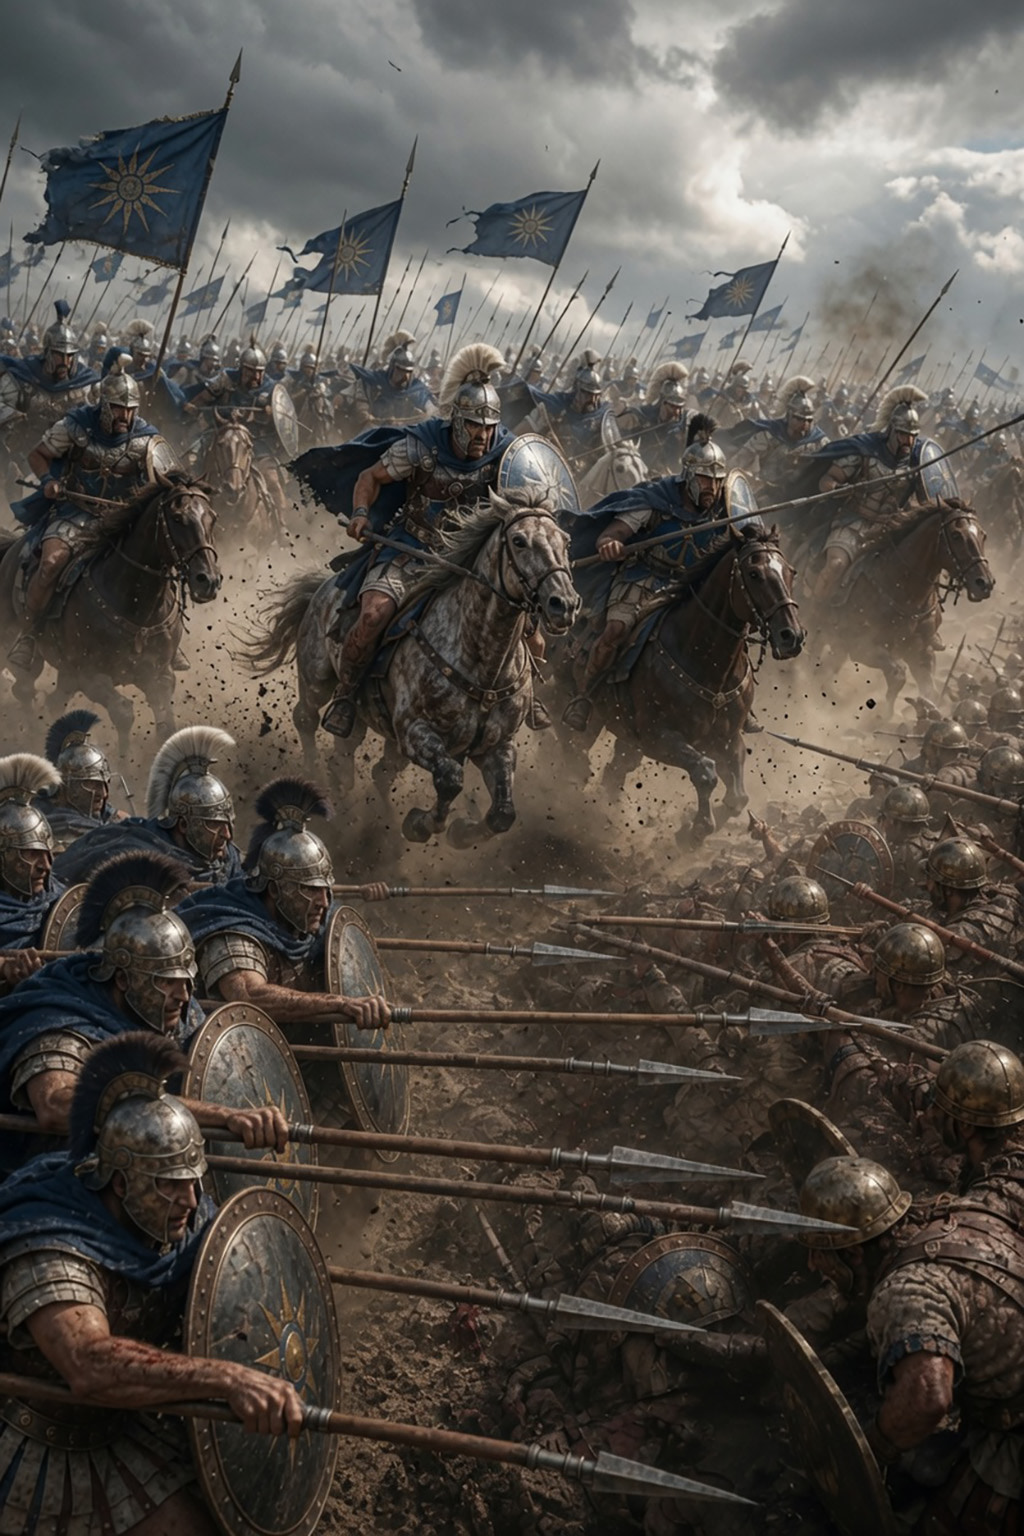
Coordinated Charge
The effectiveness of Macedonian warfare came from timing infantry pressure and cavalry assault together.
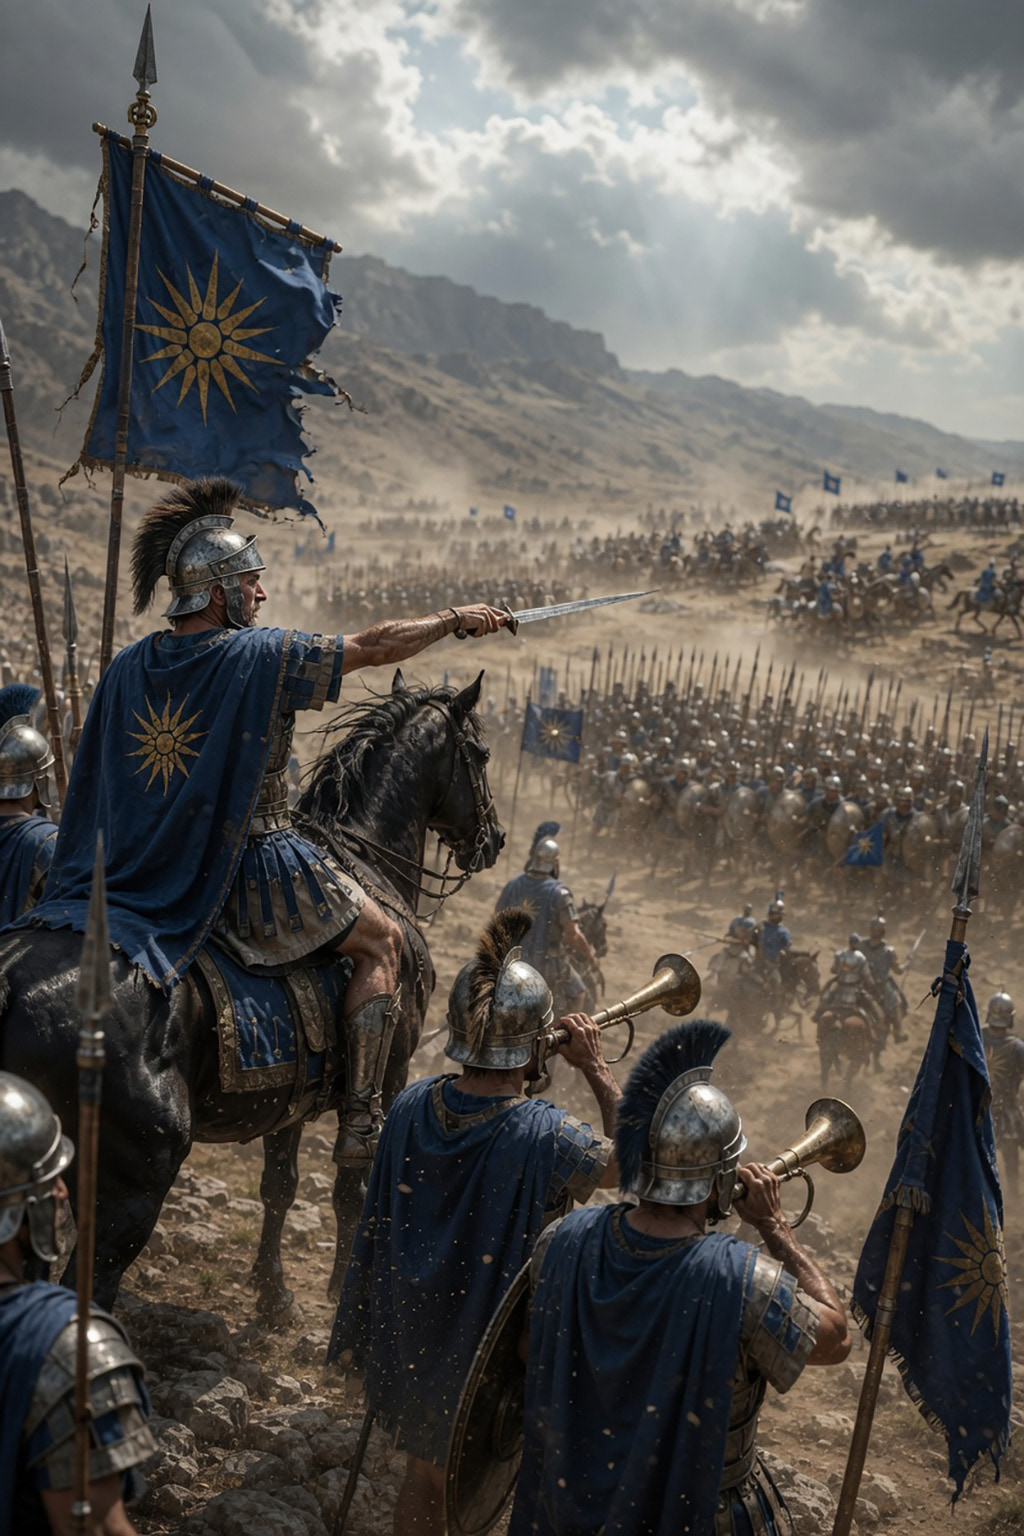
King’s Signal
Ancient armies relied on visual and audible signals to coordinate movement, attack timing, and formation changes.
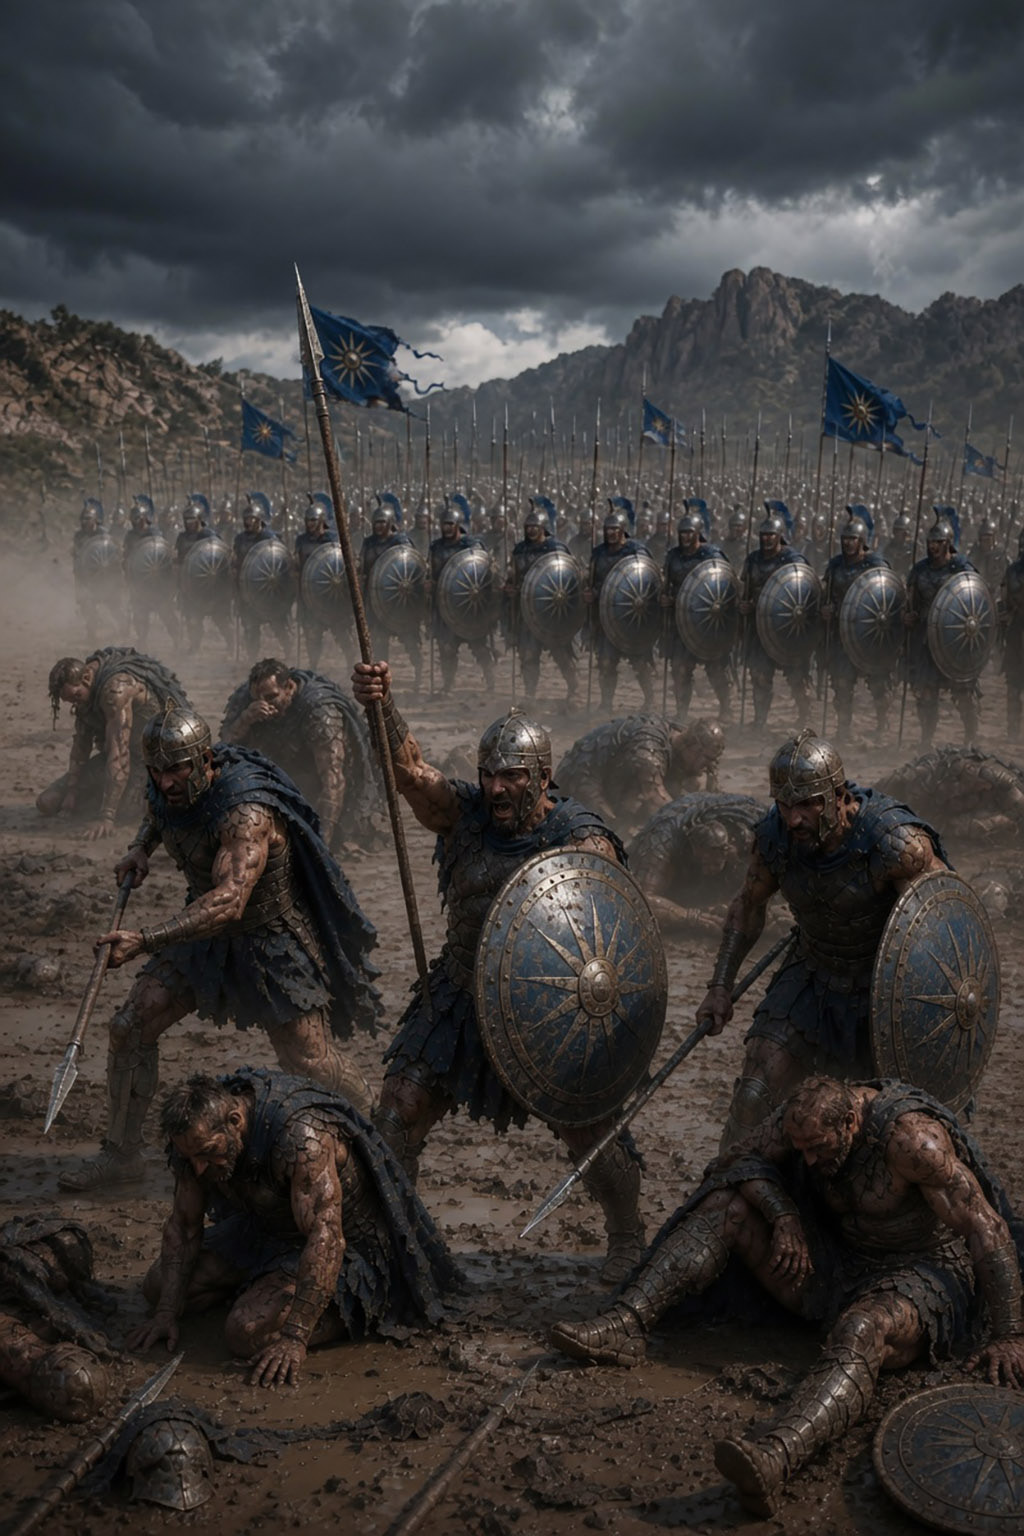
Reserve Pike Line
Successive pike lines and depth gave the Macedonian phalanx staying power and replacement capacity in hard fighting.
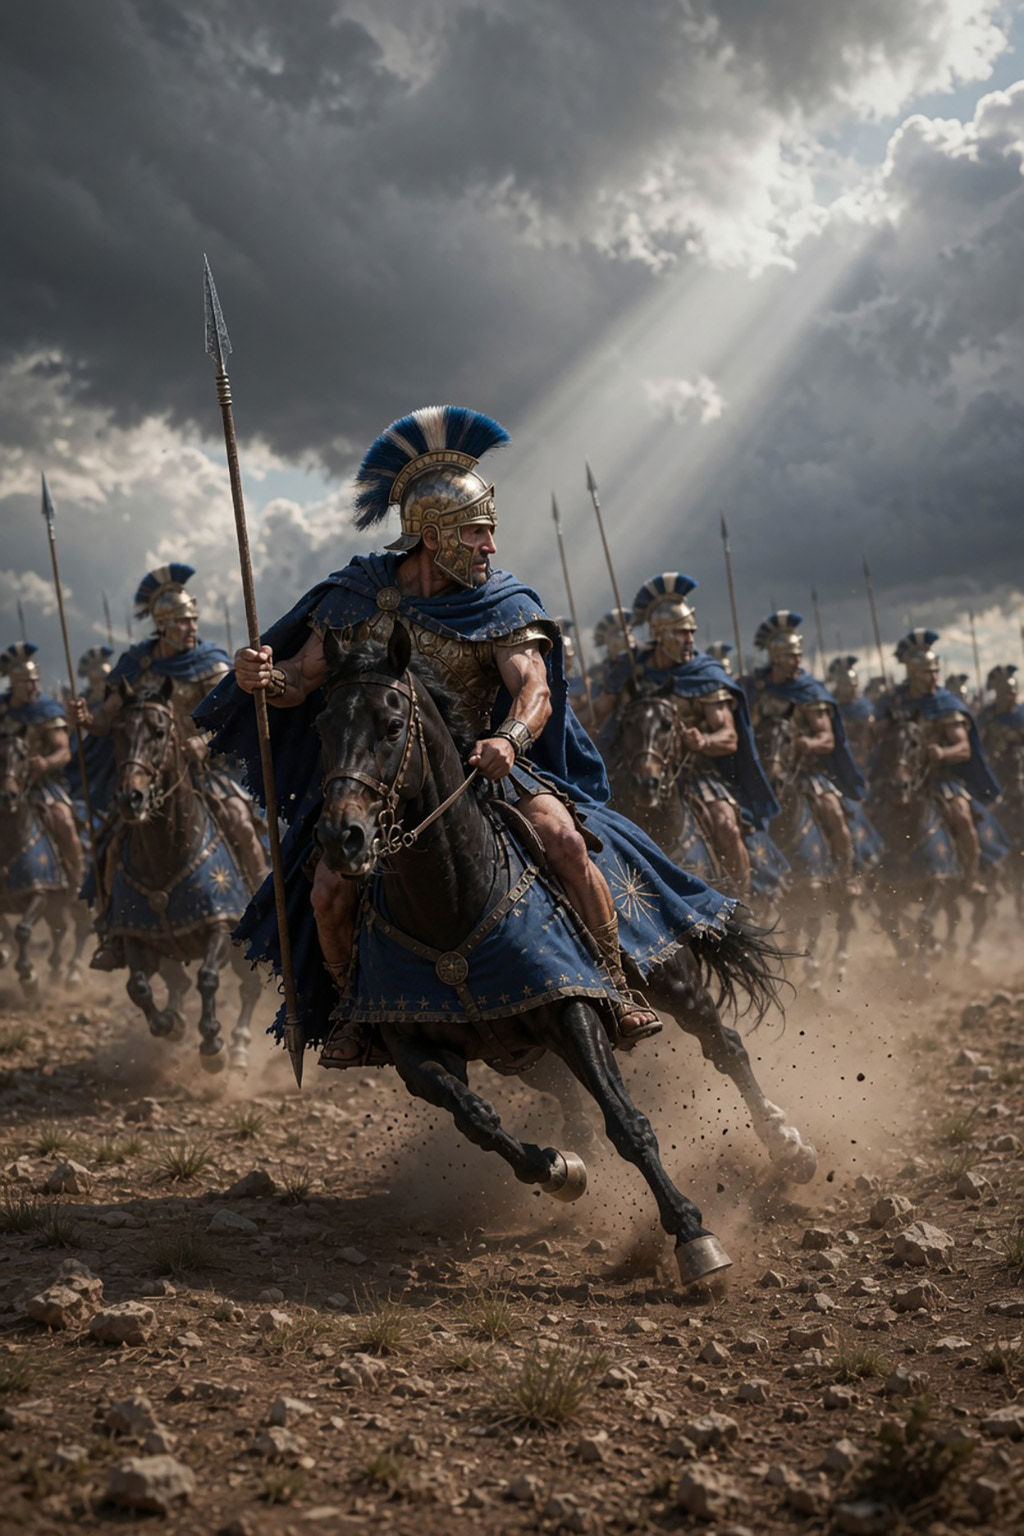
Sudden Wheel
Mounted troops could wheel sharply to change frontage, evade threats, or exploit openings on the battlefield.